Illuminated Bottle with Printed Rice Paper Project
Illuminated Bottle with Printed Rice Paper Project
Skill Level: Beginner
Step-by-Step Instructions
Step 1: Prepare the Bottle
Choose a Bottle:
Select a smooth, clean glass bottle and remove any labels. There is no need to remove all of the glue residue as it will be covered by the rice paper.
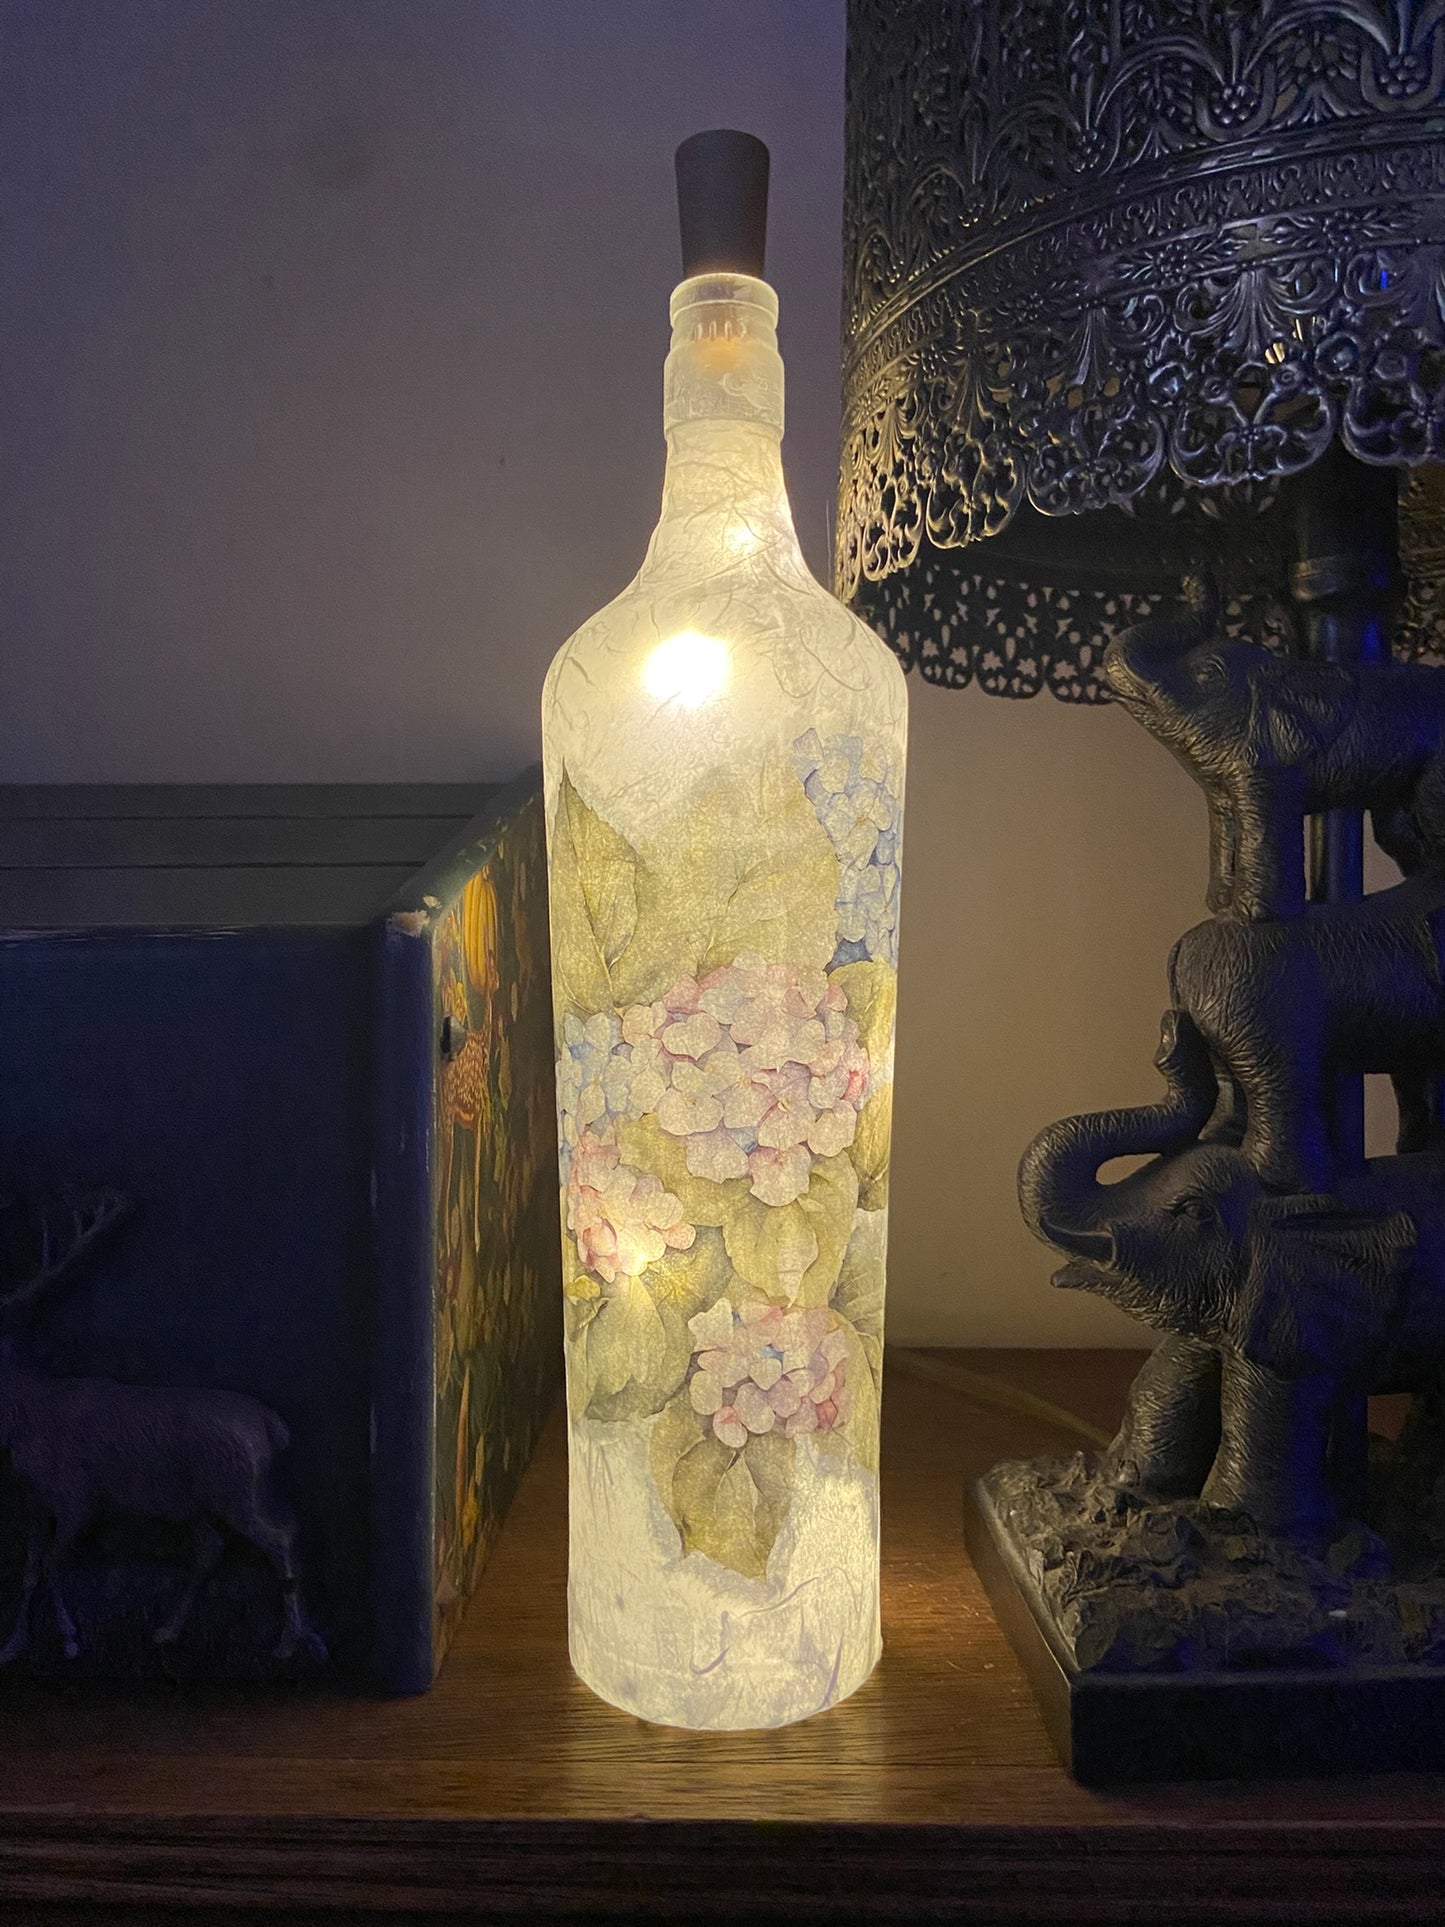
Select Your Design:
Decide which parts of the printed rice paper to use for the focal points. For the hydrangea design, choose sections that will highlight the bottle’s shape and aesthetic.
Step 2: Prepare the Rice Paper
Tear the Edges:
Begin by tearing off the straight edges of the white rice paper to create a feathered look. This helps the pieces blend seamlessly into the background.
A small brush dipped in water can help soften edges, but it's not strictly necessary.
Tear Pieces:
Tear the rice paper into roughly 2-inch square pieces. The sizes can vary slightly to avoid uniformity. For efficiency, stack multiple sheets and tear them together.
Water-Cut Details:
To cut out specific designs, use a brush to trace water around the desired area, then gently pull apart the paper along the wet line. This method ensures feathered edges for blending.
Step 3: Apply Rice Paper
Start with the Printed Paper:
Apply a generous layer of decoupage glue to the bottle where you’ll place the printed rice paper.
Lay the cut-out design on the glue, smoothing it from the center outward with a brush to remove air bubbles and wrinkles. Add glue on top to seal it in place.
Fill the Background:
Use the pieces of white rice paper you tore up earlier to fill in the empty spaces around the design. This creates a uniform background while allowing the printed sections to stand out.
Work in Sections:
Apply glue to a small area, lay down the rice paper, and smooth it out before moving on. This prevents the glue from drying prematurely.
Step 4: Finishing Touches
Dry the Glue:
Use a heat tool or let the glue air dry. Heat tools are quieter and more precise than hair dryers, making them ideal for crafting.
Add Lights:
Insert cork-style LED lights to illuminate the bottle. Choose the light color that complements your design (e.g., warm white for a cozy glow or multicolored for a festive look).
Optional:
Add embellishments like ribbon or twine around the neck of the bottle for extra charm.