


Illuminated Bottle Project
Illuminated Bottle Project
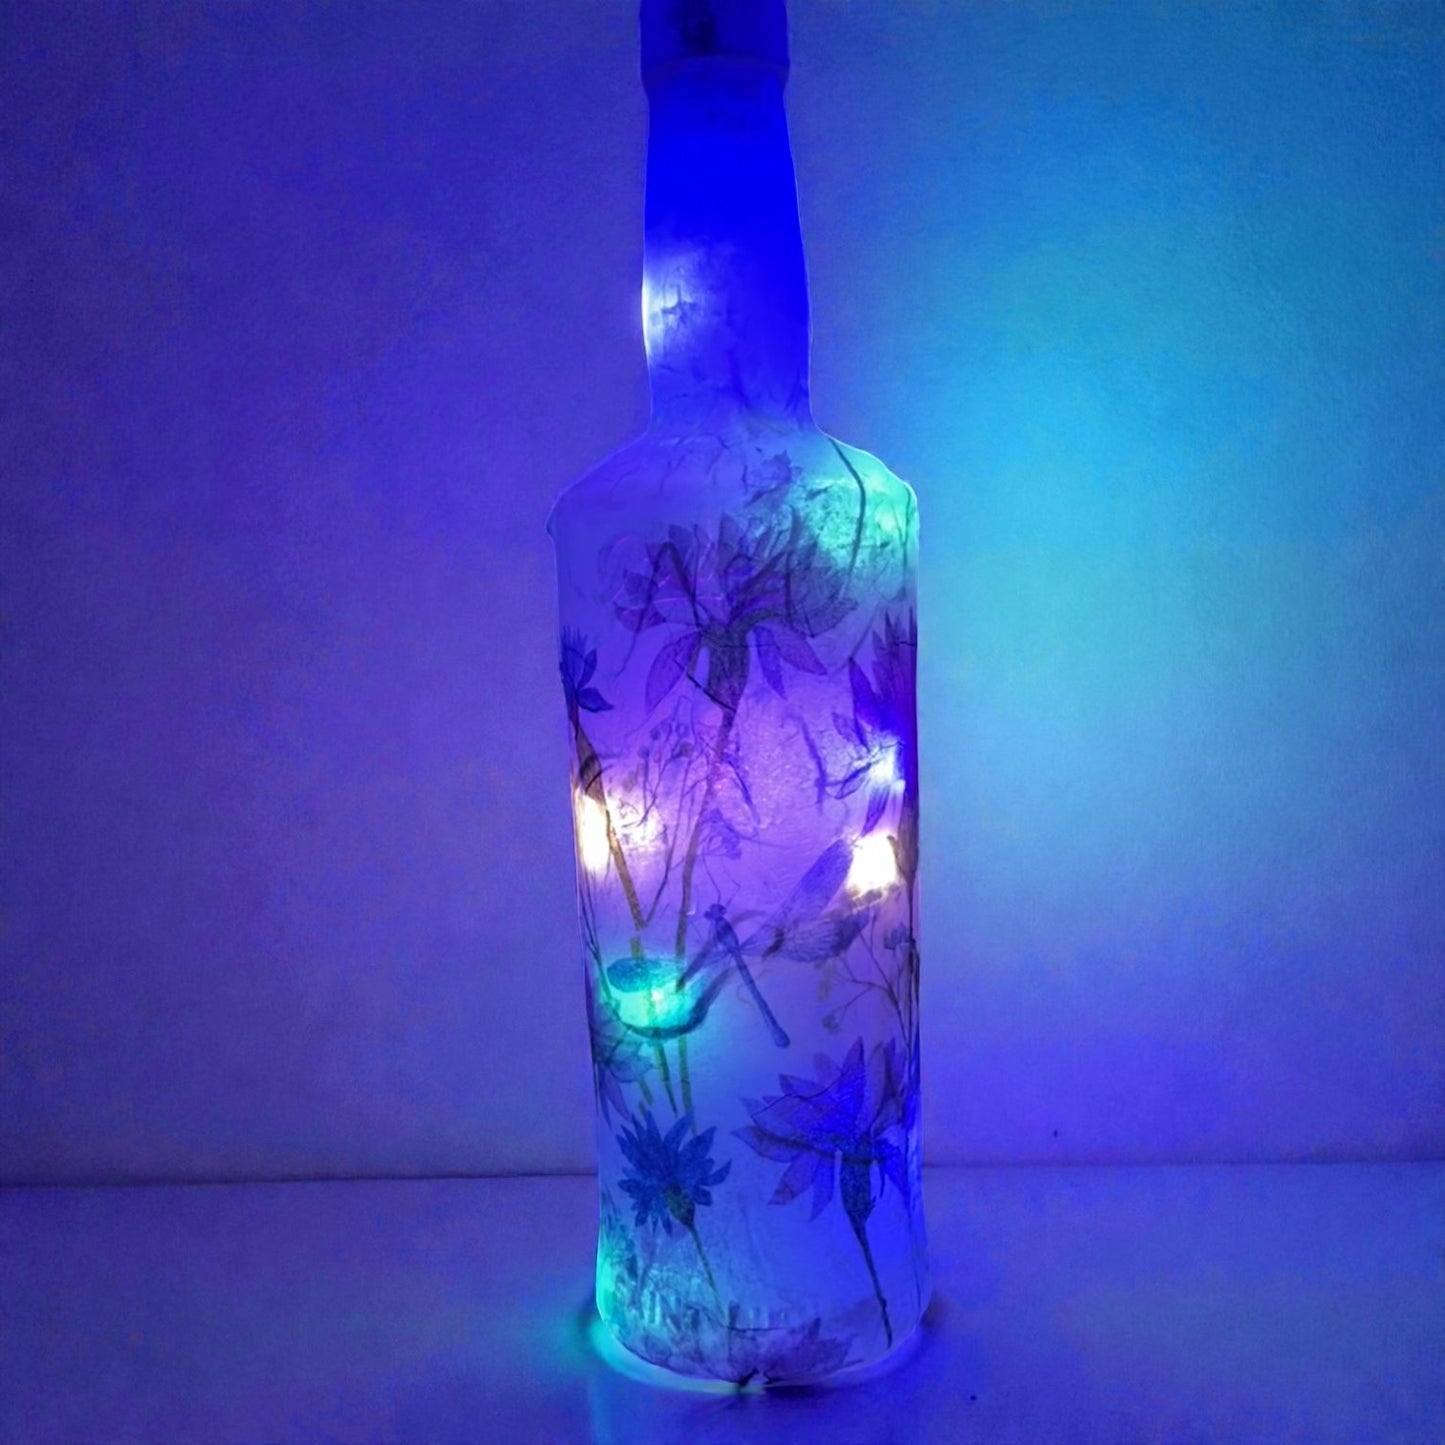
Skill Level: Beginner
Create a beautiful illuminated bottle using rice paper, paints, and simple mixed media techniques. This very beginner-friendly step-by-step tutorial guides you through each stage in an easy, relaxed way—no prior experience needed. You’ll learn how to layer designs, add soft lighting effects, and transform an ordinary bottle into a glowing decorative piece. Perfect for first-time makers, this project is calming, creative, and ideal for gifting or home décor.

-
Tutorial: Decoupage Coasters the Quick and Easy Way
Prezzo di listino $0.00 CADPrezzo di listinoPrezzo unitario per -
Easy Tutorial - Shelf Sitter Blocks Using Wet Transfers
Prezzo di listino $0.00 CADPrezzo di listinoPrezzo unitario per -
Tutorial: Easy Everyday Decor Ornaments using Wet Transfers
Prezzo di listino $0.00 CADPrezzo di listinoPrezzo unitario per -
Tutorial: Easy Mini Cutting Board Decor DIY
Prezzo di listino $0.00 CADPrezzo di listinoPrezzo unitario per -
Tutorial: Beginner-Friendly Shelf Sitter Blocks with Glossy Crystal Transfers
Prezzo di listino $0.00 CADPrezzo di listinoPrezzo unitario per -
 EsauritoEsaurito
 -
 EsauritoEsaurito


